Monday, January 28, 2013

Busy, busy, busy...

Does anyone else immediately visualize the villain from Frosty the Snowman when hearing that phrase??  (Skip to 1:00 for the punch line).  Well, anyway, I have been.  Too busy for photos.

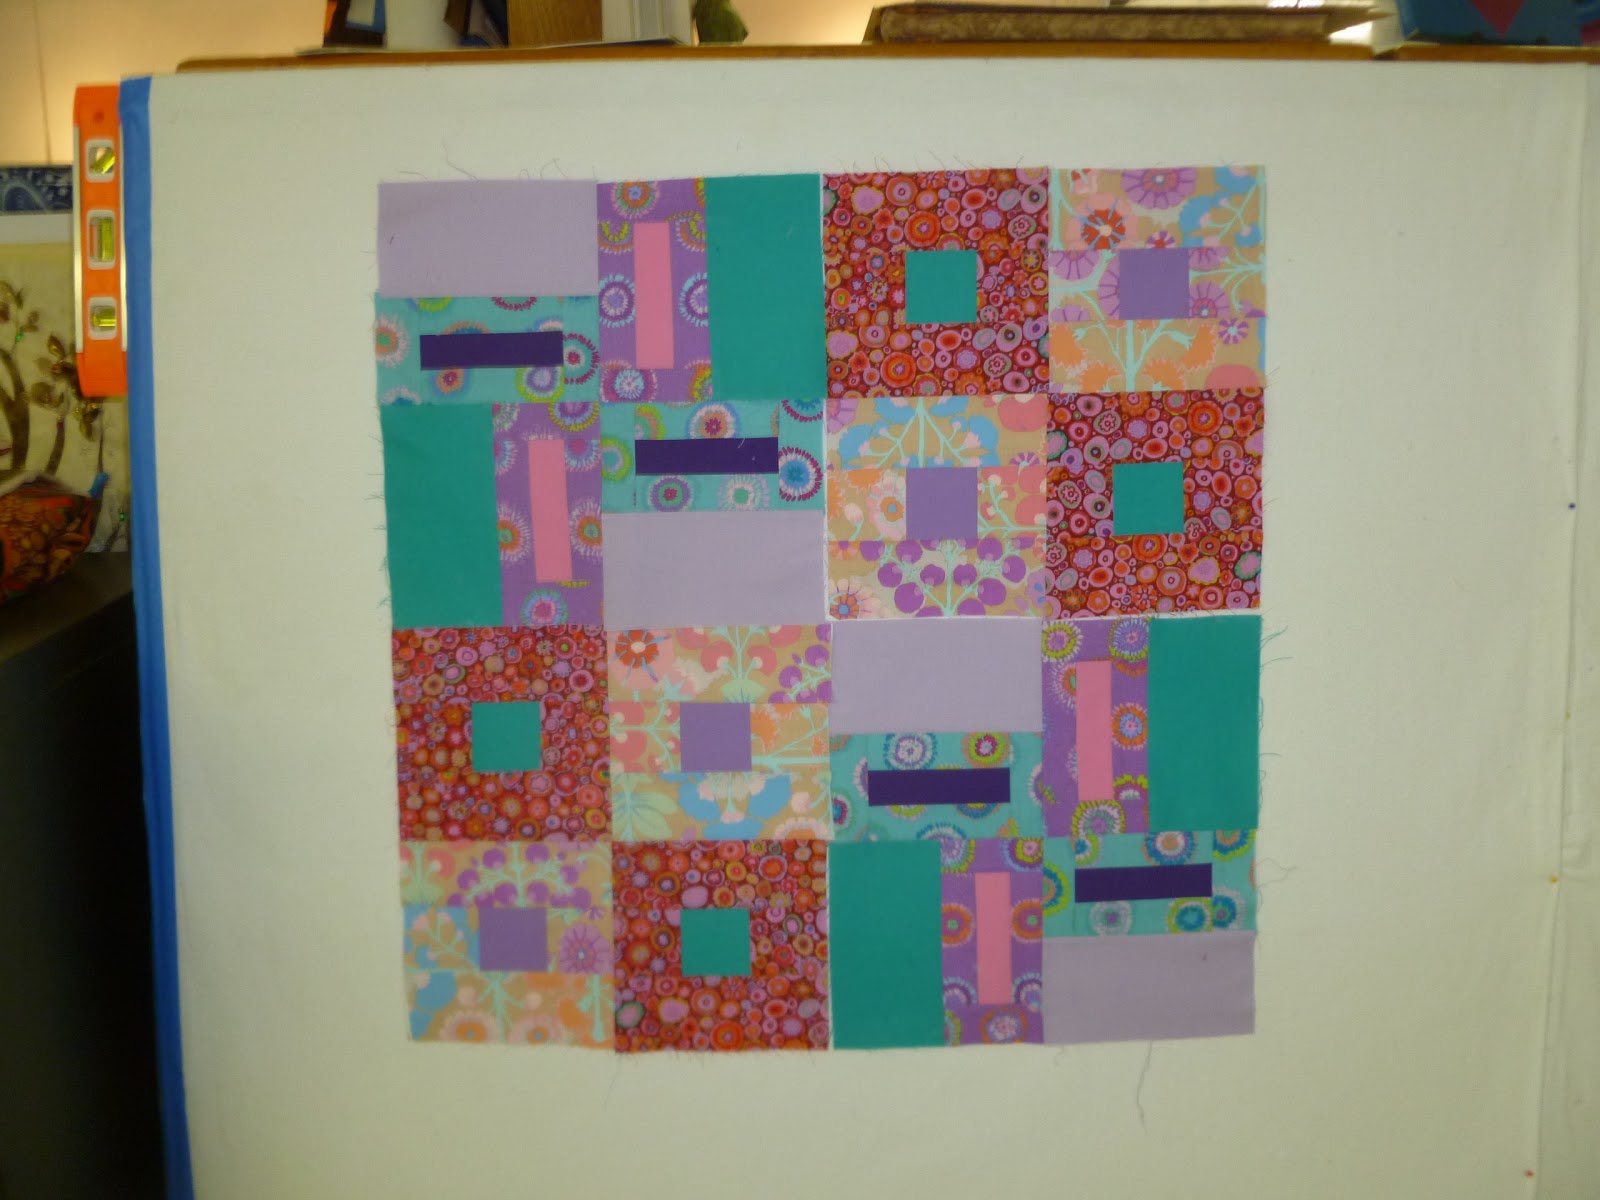
I finished rebuilding my second piece from the Working in a Series series.  This is the one that I really disliked.  I like it much better now.  It was necessary to make it slightly bigger than the others in the series, but I am happy to break rules, if the piece improves.  Sorry for the lighting discrepancies.
"Before" version 

After revisions
On Wednesday night I made my first stab at dying fabric.  I did three layers of Magenta, which turned out fairly well.   Last night, I tried more color mixing and produced several purples, as well as a mustard and a reddish rust.  These pieces are currently soaking in the washer, but it was clear when I rinsed them out in the basement this morning, that they would be at least somewhat mottled.  Actually they are not too bad, now that they've been washed and dried.  Maybe too mottled for Nancy, though.

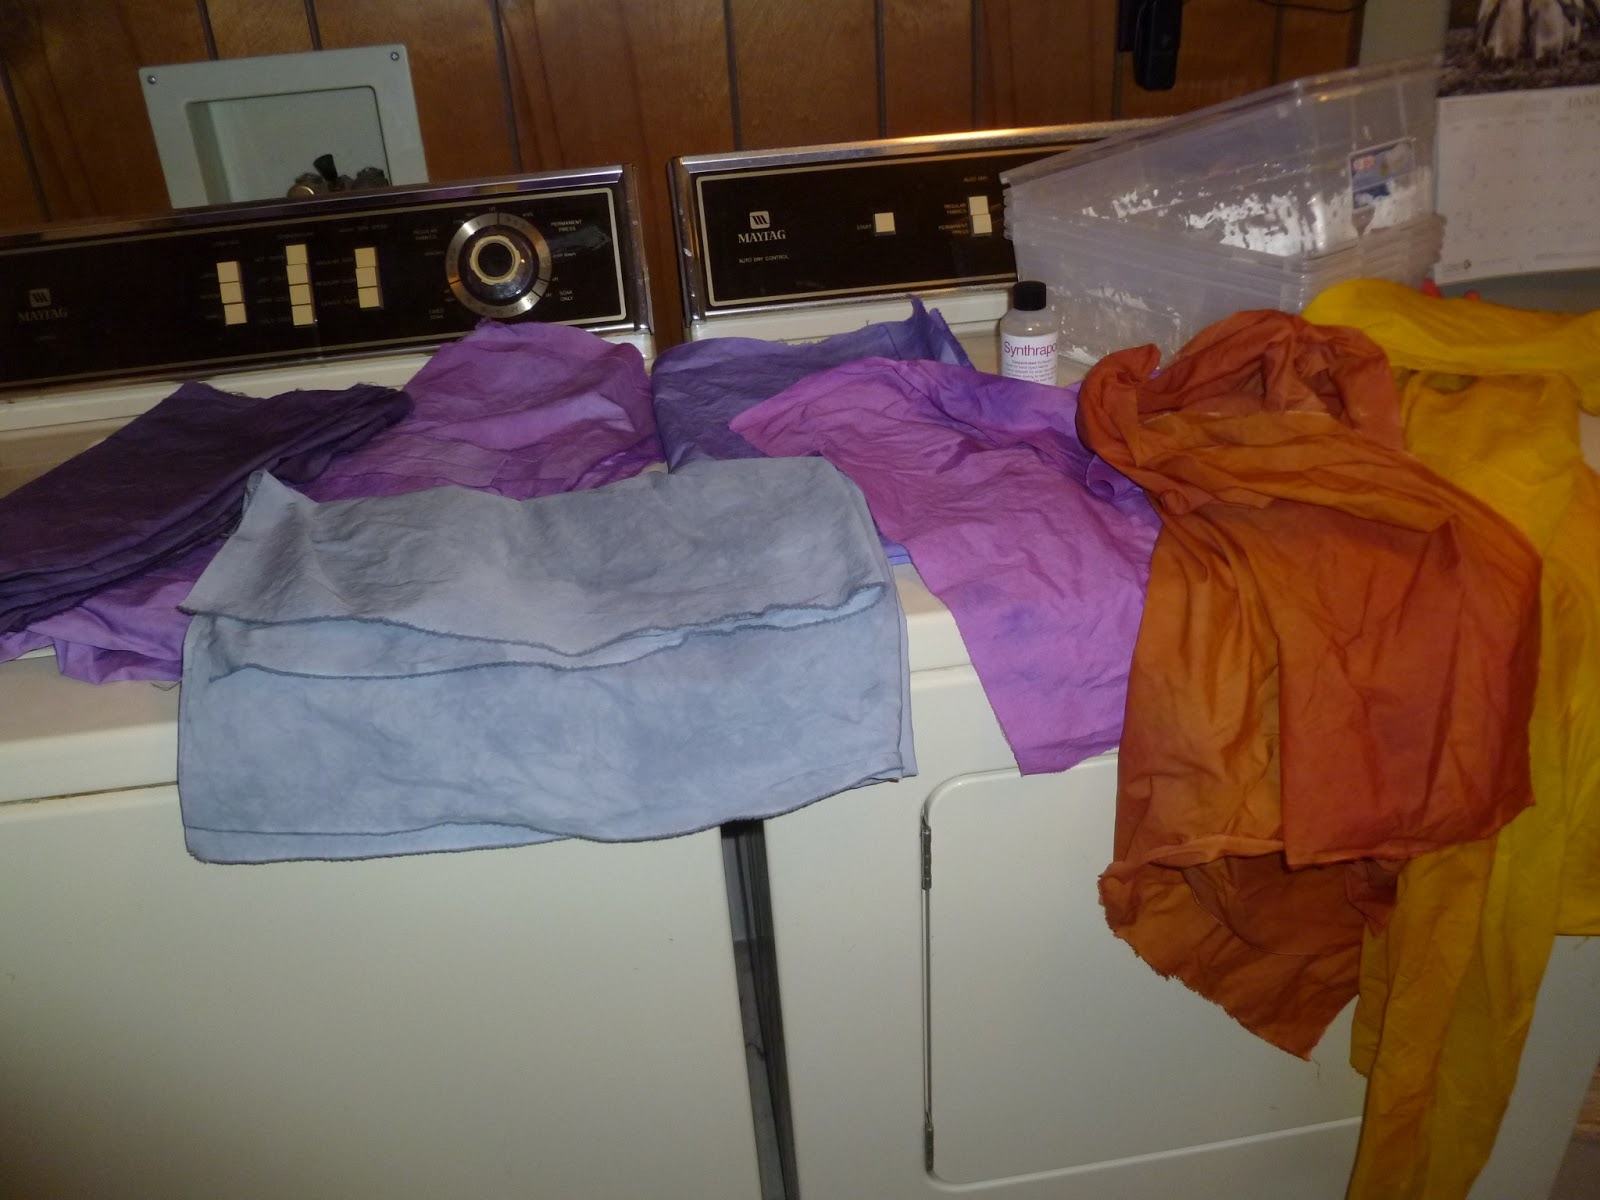
Purples have been through the dryer.  Orange and yellow still wet.

Purples, close up.


The approach I have been taking is to read different books and blogs and websites, then just 'have at it."  I'm thinking the mottling is due to either not mixing up the dye powder enough, not mixing the two colors of dye solution together enough before putting them in/on the fabric, or not fully distributing the soda ash mixture over the fabric.

The first batch I wet the fabric in plain water first, then added the dye mix, then added soda ash after a 5-15 minute soak.  This time I mixed a tub of soda ash and soaked six yards of fabric in it, but I don't think I sloshed it around enough because there was too much fabric and not enough solution to really slosh.

Well... I decided that I wanted to learn this by doing, not by slavishly following recipes and rules.  And I am. There is nothing wrong with mottled fabric, unless you're going to a Nancy Crow workshop!


Wednesday, January 23, 2013

Back to Work

It seems that the requisite down time of by brain has been completed.  After finishing my classes, getting through the holidays, and cleaning up from the holidays I didn't have a strong urge to create art.  Nonetheless, I pulled down the granddaughter's quilt and put the WIS projects back on the wall last weekend.  That seems to have been enough to trigger action.

Than and the growing feeling that Nancy Crow is now only about six weeks (SIX WEEKS!?!) away, and I need to have my stuff ready to show!!


Sunday, January 13, 2013

Stars....

... or procrastination?  I've allowed myself to get distracted by paper piecing.  Oh well.  I'm sewing.
I am thinking about the "Text Messages" call to artists put out by SAQA.  It is due Feb. 28th.  I'm not sure if that's just another way of distracting myself from getting back to strip piecing, but I've spent quite a bit of mental energy on an idea that incorporates photos of various symbolic alphabets different from ours... I like the idea, but am not sure if I can exectute it so I'm procrastinating.

Meantime, I'm seeing stars, thanks to "Don't Call Me Betsy."


Friday, January 4, 2013

Sophia's Quilt

Here's an update on Sophia's quilt - getting very close to the top being completely pieced!
Someone asked me about the pattern, and I wanted to give credit to the designer.   I saw it here, in a Quilting Daily newsletter, and really loved both the great movement of the pinwheel pieces, and the simplicity of the piecing -  I want Sophia to have it before her next birthday and I knew this would be doable.  I discovered that the block design is by Elizabeth Dackson, of "Don't Call Me Betsy" fame.

In one of those synchronicity moments, It just so happens that this morning I caved on my "no new projects" resolution already and signed up for her BOM for paper pieced stars.  I've been loving paper piecing, and especially the stars I've been seeing around Pinterest, so I thought this BOM structure would give me the discipline to actually do it... How hard can one block a month be?  Plus I get to interact with all the other crafty people and see their designs and color choices.   It should be fun!


Wednesday, January 2, 2013

What I've Been Doing

As I mentioned in a previous post, I've been resting my brain a little since my classes were completed and it's been the holiday season.  That doesn't mean I have not been sewing, however!

On 12/23 we discovered that the granddaughter's stockings were woefully inadequate to the task of holding all the goodies we had for them.  Quick trip to JoAnn's and a big fuzzy cleanup later...  Voila!  I used some really fuzzy soft fabric, the likes of which I have never seen, not to mention sewed on before.  They are very messy, because the fabric was extremely slippery.  But thankfully a lot of mess can be hidden on the inside of a stocking.  The fuzz produced was mind boggling.  I had to keep the shop vac next to me while cutting.  And had to cut over on the empty floor, or my entire work space would have been overcome.


The other thing taking up my attention is a quilt for my youngest granddaughter.  I gave her sister one on her fourth birthday, and wanted to to the same for her.  I saw this picture on the cover of "International Quilt Festival News" and liked the simplicity of it...  (Can't link to it).  So I decided to buy some of those luscious Kaffe Fassett fabrics I'm always lusting after, and go for it.  The Interweave site provided block dimensions which I used, but it could be done at a lot of different scales.  

I have assembled five of six  24" x 24" block units like this.


After looking at this on the wall, I changed the orientation of the lavender/aqua blocks.. I'll show the difference in my next post. It was interesting how a simple change made a big difference in the overall look of the quilt. In this photo the dark red adjacent to the aqua is too similar in value.  Same for the pale print next to the lavender.  My change, rotating one block, brought the lavender next to the red, and vice versa.  

I have only one more 24" block to assemble, then sew the six big blocks together add borders, and quilt.  That's all.  :)


Studio Done!

My husband has spent a lot of time since Thanksgiving working on the studio, and it's officially done!  Here is a photo taken before the last piece of design wall was covered with fabric, but you can see the track lights and the h-u-g-e design wall space.  Yay!


I've cleaned things up and made more space for expanding my collection of solids.  Right now they are contained in four bins (fifth shelf down from the top) and I hope to double the space - if not the fabric so that the colors can be more spread out...

I'll post another photo of the finished room soon!

12-4-12:  Here's the Final Really Finished (and cleaned up)  Room!