Tuesday, November 4, 2014

Round the World Blog Hop

Anusha Krishnamurthy, of the blog Petite Faerie tagged me for this blog hop that has been making the rounds.  I'm happy to be making international connections with Art Quilters from around the world.  In that vein, I'm going to tag three of my "International" friends, Barb, Katie and Maria, because Alaska is, you know, sort of almost in Russia.

The questions I was asked to answer are:

1.  What are you working on?
I always have several projects in process at any given time.  When I get bored, frustrated or stuck on something, it really helps me to get away and let it process in my subconscious until I can come back with a fresh look.  That said, here's what I've got going:

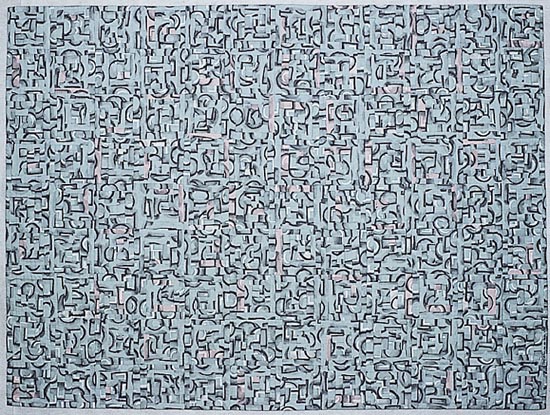
(1)  Magnum, i.e. Rockers #2 - huge, huge undertaking which came out of a Nancy Crow workshop.  It has been on my wall since March, and it feels soooo good to see that wall empty.  I'm now at the stage of putting together each of the 6-7 large parts that were made individually.    I don't want to post a pic of the whole thing until it's done, which should be in the next week, so this closeup will have to do:


(2)  I very quickly made these improv blocks, which I really enjoy moving around on the wall...

They came out of the scraps from Rockers #4:


3)  Meanwhile, the Wired series that I started at Terry Jarrard-Dimond's class at the barn is languishing for lack of wall space.


4)  I love paper piecing and when my brain gets numb from designing art quilts, I like to mindlessly sew pretty colors on paper. This is a Block of the Month called Almond Country Beauty.  Because I am always striving to be an overachiever (note, I'm not actually an overachiever, I just have these fantasies), I decided to do a solids one with charcoal background as well as the scrappy one that comes in the kit.

5)  A local modern quilt group is doing the Tula Pink City Sampler.  I'm not sure I'm going to jump on the bandwagon, but I made the first block just to see if I would like it.  I did.  I am really bad at precision and quarter inch seams, so maybe I should just do it for the practice...  Once I saw them on the wall, I was pretty much hooked.  Plus it will be a great way to make use of all the print fabric I bought before I decided I wanted to work in solids.  The group is only doing 2 per month (doing math..... wait.... wait..... 4 years to finish all 100.....   I'd better go faster, or do fewer....  Anyway, here's what I've done so far:


6) Then there is the sleeves-and-labels project that just goes on and on and on.... didn't take pictures of that, too depressing).  I have 18 small quilts laid out on the table waiting for sleeves, that need to be hand sewn.  If I'd actually MADE the sleeves - which only takes a couple minutes - I could have had them all sewn on during the  mindless TV I've watched for the last few weeks.  GRRR!  Procrastination killing me again!

2.  How does your work differ from other work of this genre?
I'm not sure what my genre is.  I primarily consider myself an artist who works in the quilt medium, and that is the goal I am most focused on, but I also like to do "Modern Quilting."   Magnum is an artwork.  The improv blocks are art but also modern quilts, the paper piecing and City Sampler are modern quilts, not art because they are someone else's design.  I think I work more improvisation ally than many people.  I'm constantly surprised when people are awed by what I create without a pattern.  I really just consider it "making shit up," if you'll pardon my vulgarity.  It's so much easier than following directions!

3.  Why do you create?
Because it makes me happy.

4.  What is your creative process?
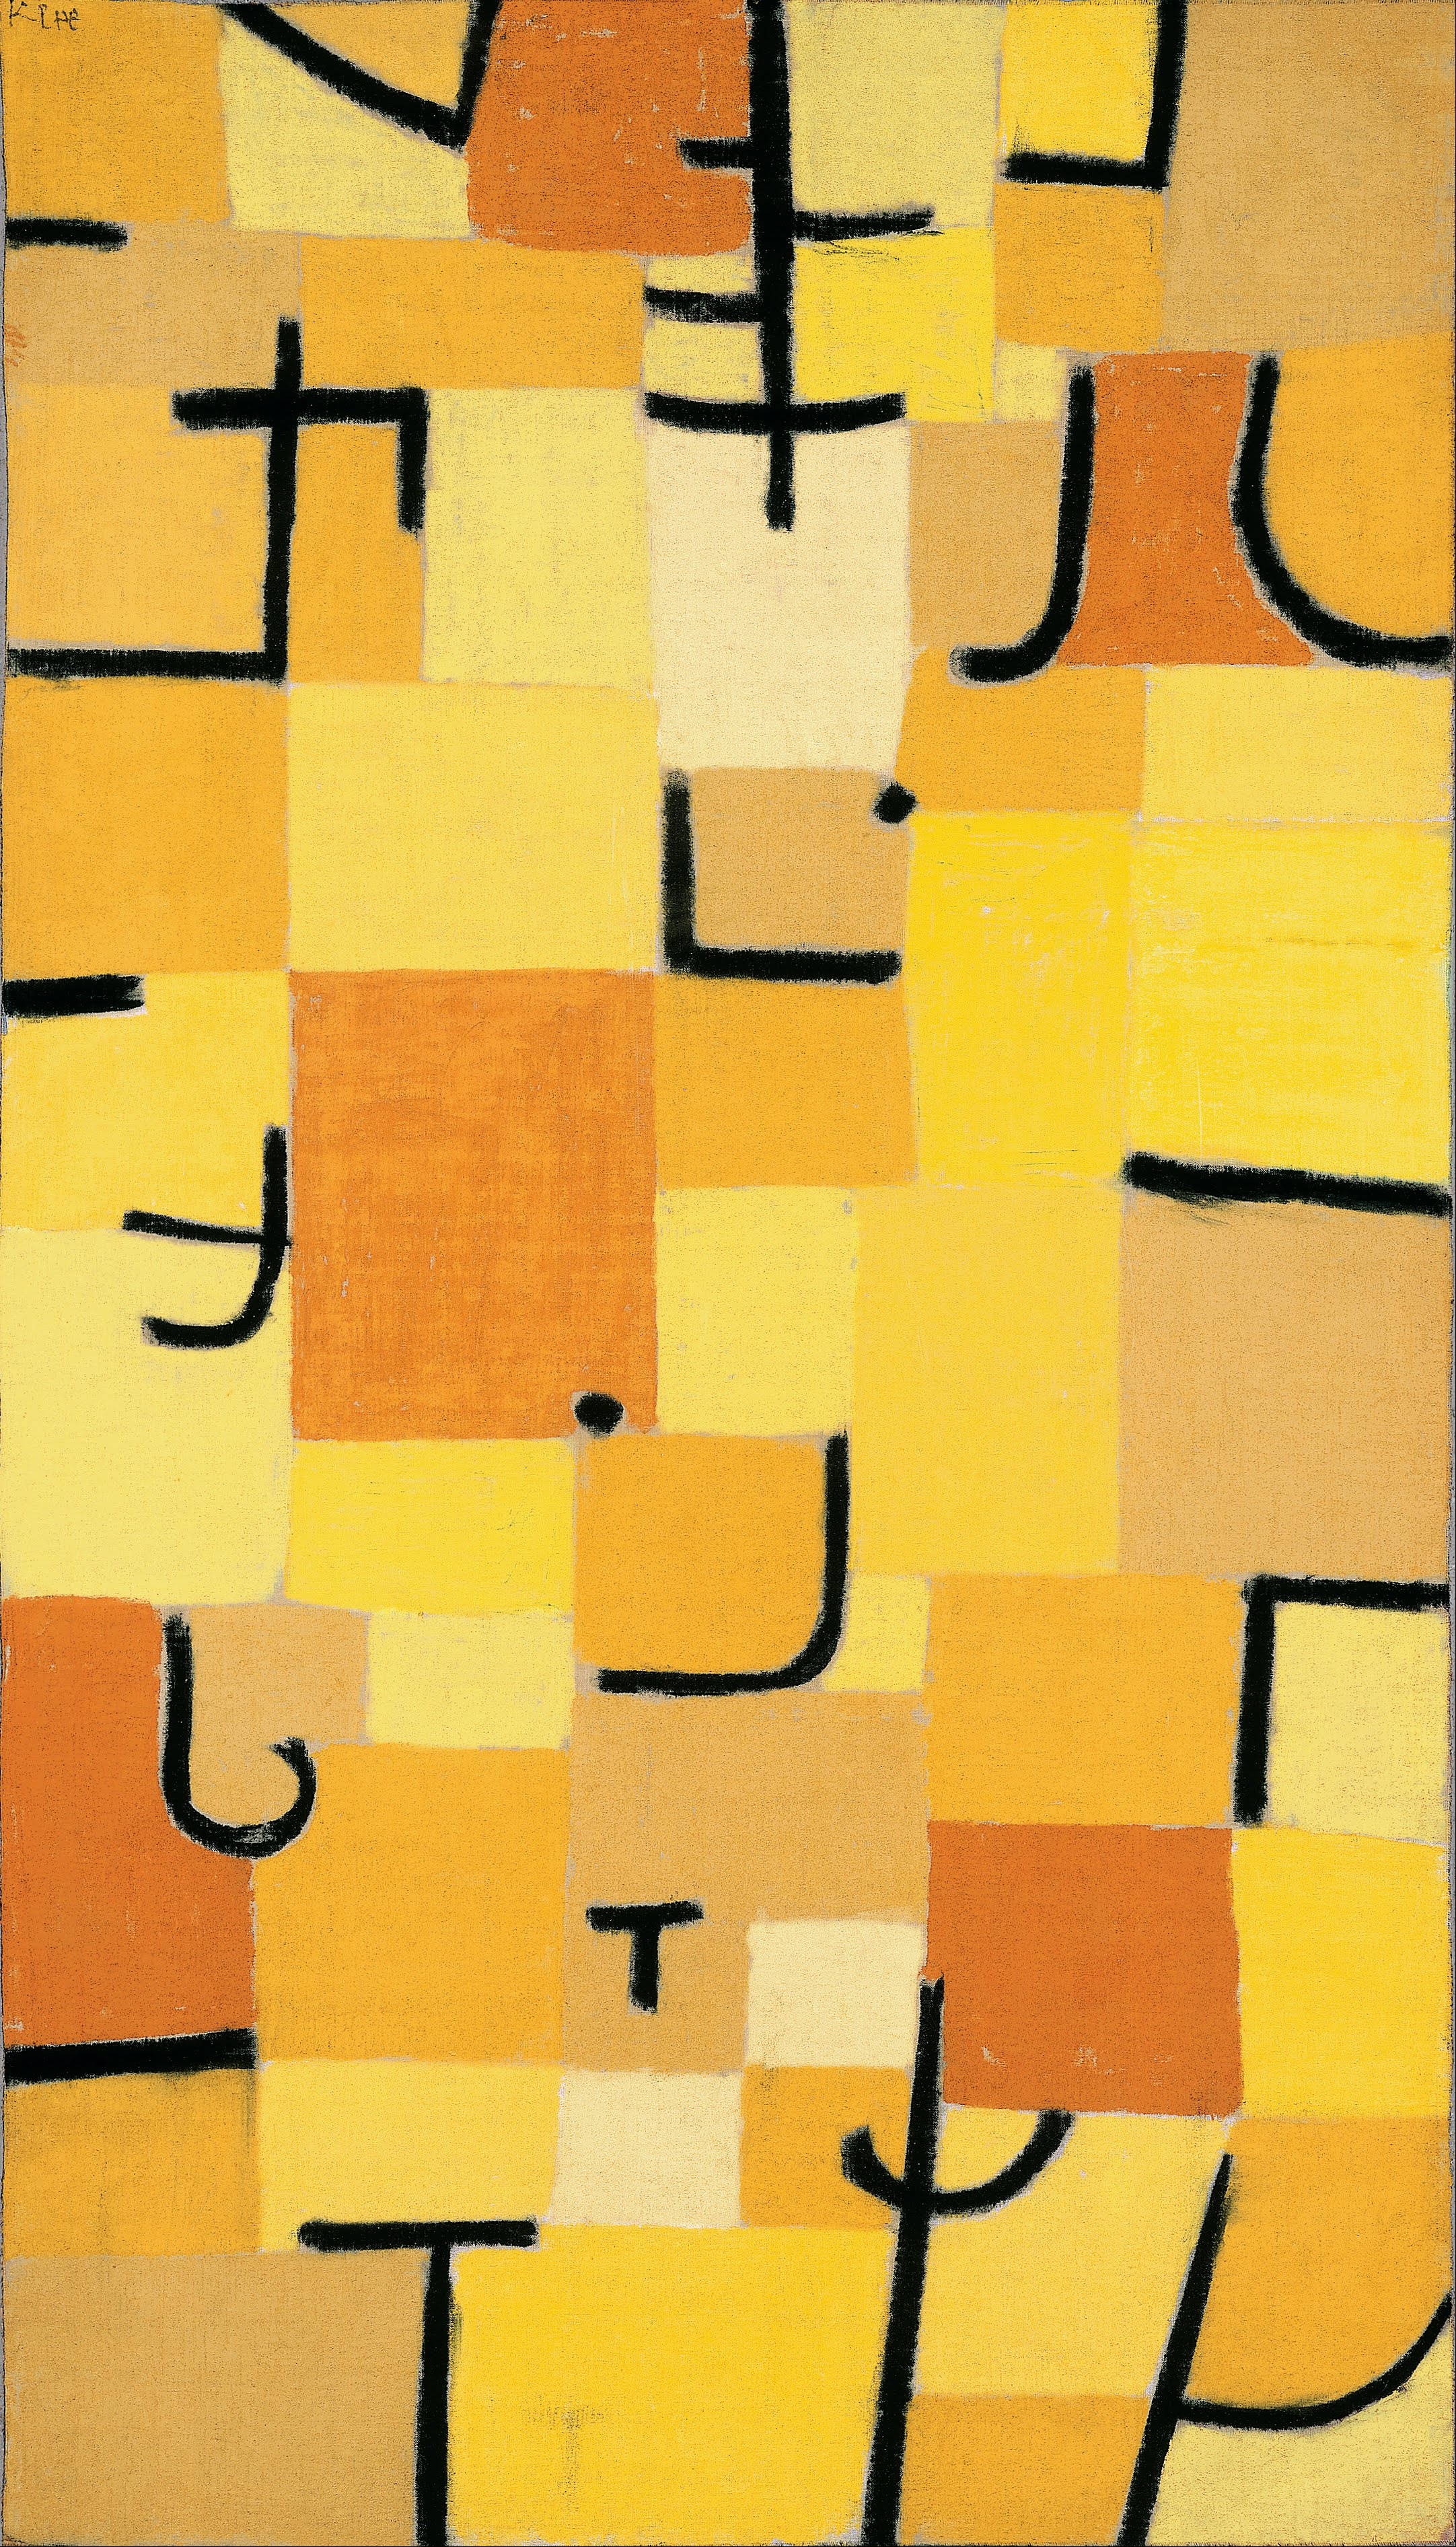
Pretty much what I described in question #1.  I work on lots of different things depending on my mood and what grabs my fancy.  When creating my own designs, I like to start with a vague sketch in my sketchbook or on any scrap of paper that's available.  Sometimes It on the wall in black and white fabric to get the shapes down. Or sometimes I just start on the wall.  Then I just start filling in grounds, and changing figure pieces from black to a color.  This blog post documents the process of creating Rockers #3.  In that case I started with colored figures, not black and white.
I like to work on design, or complicated assembly problems when my brain is more fresh -  in the morning, usually.  Sometimes in the evening I do the paper piecing, since it requires less mental capacity.  (Although last night I sewed the same piece on wrong, four times.  And there are only four configurations it could possibly go in!).
I always seem to have a number of ideas for projects backed up in my sketchbook, on my pinterest boards, or in my brain, so getting ideas is not hard.  What is hard is focusing on one particular area of interest so that I can develop a "coherent body of work," that ever-elusive goal.  I have started several series - Strip Piecing, Asemia, Rockers, now Wired.  There are only a couple completed quilts in each, but several more completed tops.
Now that my Dear Darling Husband has recessed my machine into the table, I'm going to really, really, really get to work on my free motion - or even walking foot  - quilting.  That is my weak point in the creative process.  I love making tops.  Quilting them, not so much.  Yet.  I think I will like it once I get better at it.

Thursday, October 2, 2014

Boot Camp at the Barn

Wow, the summer flew by so fast!  The weather was amazing here in Bellingham.  Typically we get nice weather for a month or so, with rain interspersed here and there.  This year it was sunny literally every day except one, and quite a bit warmer than usual.

That made for some chaos in the garden, but lots of produce too!
Summer Bounty
And now I have just returned from "The Barn."  If you're an art quilter you probably know that "The Barn" is where Nancy Crow works and teaches.  It felt like a pilgrimage, visiting a significant spiritual site you have previously known of only through word of mouth. It was fun seeing Nancy in her native "habitat."   It's a beautiful facility and the food - provided by Margaret Boys Wolf - is fantastic.  Every lunch and dinner, plus a mid-day snack is ready and waiting for you to sit down and eat.  How spoiled I felt!
This is the only meal I remembered to photograph before eating

The class I took at the barn was Design Boot Camp, with Terry Jarrard-Dimond.  It was wonderful to meet her after following her via her blog for quite awhile. I knew as soon as I saw the announcement of the class that I would have to take it.  I feel very strongly that if I can learn good design/composition, everything else will follow.

Here's a photo that she posted on her blog, of me hard at work. On the wall, you can see the beginning of a piece that I am very excited about.


The assignment was to make sketches from a wire "sculpture" that we created, and then to develop them, or parts of them, into compositions.

Here's a view of my sculpture

And a view of the artwork in progress


Now, I just need to get back into the studio and work on it! 

Monday, September 8, 2014

Improv Squares

As I mentioned in the previous post, I've been playing with all the leftover fabric that was created during Rockers #4.  It's hard to re-file weird shaped pieces, but there was too much, and the pieces were too big to just put in the scrap bin.

I started sewing together random pieces.  They were interesting, but I felt like just combining them completely free-form was resulting in weird random shapes.  I would like to do large free-form abstracts, but it seemed like the parameters of this exercise - just using up scraps of eight colors - was not conducive to a good free form composition.  So I decided to make squares. I thought that would give the piece some structure.  The 6" squares seemed too small, but I had several of them, so I started also creating rectangles that would be approximately the size of two 6-inchers.

I'm still not sure how many of them want to be included in a piece.  At first I was thinking a square of  36 x 36, but that still seems pretty random.

I'm really liking how a simple 12 x 12 (really 11 x 11) combination looks.  Maybe there will be a variety.

Here's the wall with all the pieces I've made so far.
The top squares are not sewn yet.

I like this one, but the curve is to close to the edge.
It was remaining from the previous project.
Another possible keeper - close up.
 Making the simple squares would be quick, and done, but a lot more finishing work!

Here's the remaining pile.  Not sure how many more I will make.  They get more and more complicated as the scraps get smaller.  I already screwed up a few and had to recut, which also makes them more complicated,  Oh well.  I'm having fun.  Isn't that the point?


Saturday, September 6, 2014

Rockers #4 Top Complete

I have not been much of a blogger lately.  I have not been too much of an artist, either.  It's summer!  It's the warmest, driest summer ever recorded in the northwest, and I'm trying to enjoy it.  The garden is thriving, but the orchard seems to be suffering from bad pruning (mine).  It's a learning experience, right?

But I did complete the top for Rockers #4, it was started just before the Sew In on August 2nd and completed the weekend of the 29th.   I got through about 75% with great ease and joy.  Always a bad sign.  The last bit was a struggle!
Here's how it started

Choosing colors for background

Got about halfway to here at the sew in, then continued the right side
And then the indecision hit.  I thought I had left plenty of fabric on the right side, but ended up regretting not making bigger pieces.  That orange shield shape was removed and recut three times.  It ended up back about where it started, at times it was much bigger.  I didn't take photographs, it was too frustrating.

The right is still weak.  I don't like how small the purple got.  And maybe there is too much of the rusty orange.  But there comes a point where you just have to say enough is enough and quit.  Time to move on.

Final version.
It's going to be in the 80's and wonderful today, but I think I'll take a little break in the studio now.  I have been playing with all the scraps and re-cut pieces from Rockers #4 and making little improv blocks.  It's fun.  


Monday, August 25, 2014

Dyed Fabric


Here's the completed result of my dying a couple weeks ago.  I am happy with the results, though surprised that they washed out this light.  As I mentioned in this post, I did it completely "seat of the pants."  Next time I will measure the ratio of dye powder to water in my dye concentrates.  I think I made them too weak.  But I don't have much dyed fabric so any color is a good color right now.

One interesting thing was the result of using some concentrates that had been sitting around for about 18 months.  There was some blue and some red, so I just dumped it all into a bin.  In the water it looked very dark.  But when they were washed not a lot of the dye bonded to the fabric, so lavender was the result.   So, I am not convinced about the "dye only keeps for a week or two, unless refrigerated" story.

Saturday, August 16, 2014

Evolution of Rockers #3

After the "Final Rockers" post I changed it again, so I thought I'd post a summary of the evolution of the piece.  It's interesting that I can't tell what's wrong until I do it, then it seems so obvious.

This was the first "finished" version.  I did not like the large amount of yellow in the upper left.

In the revision I was more deliberate about making the three dark green parts
read as one figure and the lighter green be another figure.
I was still really annoyed by the curved piece of yellow because it didn't really relate to anything else in the piece.  I thought it would be okay because the figures are gently curved, but it just didn't work.  I couldn't keep staring at it, so I took it apart one more time...

So I bit the bullet, took the whole yellow curvy part out and inserted a piece of gray.
At that point, the yellow arm looked ridiculously long, so I shortened that as well.
It's always a question for me as to how long I keep improving.  As soon as you get rid of the thing that annoys you the most, the thing that was annoying you second-most steps in.  I'm learning there is a point where I can live with it and move on.  I try to quit then.  Unless its a huge important piece that I love an feel is worth the extra time.  But as I im in a mode of "make work, don't futz around," I try to move on.

While this blog post has been languishing waiting for me to take that last photo, I have nearly finished Rockers #4.  And the long awaited Magnum is still progressing.   Some photos coming soon!


Friday, August 15, 2014

A Good Day to Dye


On Sunday, I finally found time to get to dying again!  I had about 16 yards of PFD ready and waiting, and also five small jars of MX dye powder.  I didn't have any particular colors in mind, which was good because making a specific color is beyond my ability and interest level right now.  
If I ever wrote a book about dying (which I won't) it would be called "Dying by the Seat of Your Pants."   That sums up my approach.

If you have thoughts or suggestions I'm happy to hear them in the comments, but understand I'm probably never going to carefully measure teaspoons of dye concentrate, etc.   I like the random aspect!

This old cabinet that we took out of the upstairs family room has become "Dye Central" and is where I store all my various equipment.  You can see the little jars of dye powder that I pulled out and lined up on the window sill amongst my knick-knacks.
Here is a close-up of some of the mixed dye concentrates, and some tools.  I went through Goodwill, Salvation Army and a couple other thrift stores and collected plenty of measuring cups, and spoons and funnels.  The bottles I used for my dye concentrates are mayonnaise jars, salsa jars, and a peanut butter jar.  The first two types worked well.  The peanut butter jar leaked.  Now I know.  I prefer the glass jars, just because they just seem more stable.  We've been getting some large jars of olives at Costco, and I'm going to save those up for next time.  So I based the concentration of these solutions on the scientific factor of how much powder was left in the jars.  The resources I consulted indicated anywhere from 2 - 8 tsp. of power per cup of water.  I put in 2-3 of each I think.  I just saved enough in the jars for one more round of concentrates.


While working inside with the powders I wear eye protection and a mask, as well as gloves which I wear throughout the process.  I only opened the jars long enough to spoon out the dye.  The water was in the jars first, then I lowered the spoon down into the jar to dump the powder while limiting the amount that becomes airborne.

This is a view of my outdoor work area, looking down from the deck. The dark area in the lower right is where the steps down to the studio are, so it was easy to bring things up and down.  It's only about four steps from grade there.  I lined up the bins at first, but then decided to just keep them off to the right, and pick up one as I needed it.  The orange bucket contains my soda ash solution.  

Theses are the first three bins.  I used only pure Magenta, Yellow and Blue, to see how the unadulterated versions of those colors would come out.  There are three layers in each; a new piece of fabric is added after the soda ash is put onto the first piece and sloshed around.

I'll show my results when I get them all ironed.

Thursday, August 14, 2014

A distraction.....

In a weak moment I signed up for a BOM.  (Block of the Month Club for those of you not in the know.  Wink.) I have been drooling over New York Beauties like these by Venus de Hilo on my Pinterest Board for a couple years.


I even bought Karen Stone's book, which includes patterns for similar quilts.
But I put off starting a new major undertaking, knowing how much I hate unfinished projects hanging around.  I already have some paper piecing stars that I need to make something of....

But when my LQS announced a BOM that is a version of a New York Beauty called Almond County Beauty my resistance crumbled.


The BOM is from Sewn Into the Fabric.   I like the area of open space (negative space as the modern quilters call it.  As an aside, I think that term was stolen from architecture... but that's ok, all those elitist pompous asses need to get over themselves).  Ahem.
The BOM even provides the fabric, which at first I didn't love.  But again, it's all ready to go, no design and color decisions to make..... And if I get ambitious I can make two sets each month, one of my own choosing .... yeah.... right.

Anyway.... I have found that some nice left brain precision paper piecing can be a respite when my artist's right brain gets tired.  I'll try to remember to share.

Wednesday, July 16, 2014

SAQA Auction Dream Collection

I've been absent from here lately, the stretch of purely fantastic weather has me outside every chance I get.  But an e-mail prompted me to participate in the fun of creating a Dream Collection of all the SAQA auction quilts I would love to buy if money were no object.

I call my collection Abstract Geometrics - I love these compositions of pure color and shape – what remains when subject matter, pattern, texture and surface design are pared away.


Hope you enjoyed my collection.  Don't forget to visit the SAQA site and pick out the quilts you want to bid on when the auction opens!

Saturday, July 5, 2014

"Final" Rockers #3 Top

Here is the "final" version of Rockers #3.  Final is in quotation marks because the upper left is still bothering me, the line between the green and the light yellow is awkward.  The puckering is not as bad as it looks and can be controlled in the quilting, but the line is just not right.  Yet.   Hence, "final," as in turned in for class, but not final as in ready to quilt.

Thursday, July 3, 2014

Rockers #3 Pieced and Revised

Last week when I was done piecing, I shared an image of this piece on Facebook.


I was pretty happy to have finished piecing it in a couple weeks - probably about 12 hours total.  But seeing it on the wall, and especially in the photograph, I was bothered by the upper left corner.  First there was too much of the light yellow color.  Second, it didn't really contrast with the bright yellow figure, so the figure sort of mushed into the background. Third, the curve of the yellow into the spruce color stood out because it was the sharpest curve and the only curve that is not a figure. 

I could carry on about a lot of other reasons it bugged me, but you get the idea.  I played for a few minutes pinning some colors over the yellow, and quickly found an option I liked:


This morning I was able to quickly piece that in.  I likes "quickly!"  Here's how it looks now:
I am much happier with this.  I like the way the dark green forms a shape, and I think I even like the hourglass shape of the spruce enough to keep the curve, if I can cut down the left side to do away with the awkward way the line intersects the curve on the bottom.


Tuesday, May 13, 2014

Musings on Abstraction and Texture

I've been thinking recently about what makes good abstract art.  Abstraction can occur on a continuum from "almost real" to completely unrelated to reality.  I think I have a general understanding of how to abstract something from reality - either slightly, or so much that the original subject is not recognizable.  This piece is pretty far from realism, but still easily recognizable.
Floral Abstract by Angelo Franco

I also think that at least intellectually I understand how an abstract art work can represent a feeling or mood or emotion....  Guernica comes to mind.
Pablo Picasso, Guernica, 1937

I also understand how a work can be purely abstract, only "about" shape, color, line, etc.  (at least apparently purely, maybe the artist thought differently).  For example, this piece called "Intro" by Frederick Hammersley, 1958. 


Josef Albers' work is "about" colors and shapes.

I started thinking about this after my last post, and the doodle/sketch of a composition that was made up of relatively random shapes on grid paper.  My first criticism or concern was that it was too irregular and didn't have any focal point, hierarchy, etc.   It did have balance, in a sense, I guess, because the pattern was equally dispersed over the entire field, (or would be if I finished it).

(The pink is only because I forgot the orange marker, but I might like the concept)

Can a work of abstract art "just" be an overall interesting surface pattern?  I tried to find examples of this in art quilts.

The first one I thought of was  Benedicte Caneill's work.
Units #23: Lights in Blue

I've seen her work in a number of different books and exhibits.  It ranges from figurative, to repetitive blocks, to more overall pattern, which this piece seems to be.  However, as I looked closer at it, I saw that it is made up of various blocks or units, but I think the effect is still overall pattern or texture.

Earth Quilt #1 - Celebration of Life II

I've selected one of her more homogeneous examples to illustrate my point.  Again the overall impression is of a continuous texture.  So maybe my question really is "When is overall homogeneous or non-focused texture Art, and when is it just a really cool texture?"  

Nelda Warkentin was an artist that immediately came to mind as I considered this question. 
Here is Sea Ice: 


Her signature style is a recombination of similarly painted, multi-layered blocks, usually square, into new configurations.  While there is less homogeneity than the first two examples, the overall effect is still one of texture, not object, shape or focus.  Her artist's statement says: "My work, which can be representational or abstract, is about color and pattern. Design elements found in Nature are my inspiration.  Color is used to convey light in a landscape, a mood or emotion. "   

I didn't find too many more examples that I thought qualified as "purely" homogeneous texture. Nearly all quilts that have a textural feel at first impression are composed of small, similar repeated blocks.  This is the nature of an art quilt - unless it's painted...  Here are some other examples I considered.  Ann Brauer creates texture and color gradation in her pieces, which are often vertical columns of very similar small strip sections.  But instead of the pure texture, which would be pretty boring, she brings a simple shape in, which becomes so much more interesting, for its uniqueness.

 In the next piece, Sea Spray, by Valerie Maser-Flanagan, the first impression at a distance is of a texture that graduates from greenish gray through blue to blue-gray.  The viewer is immediately drawn in to see how the effect is achieved, by a repetition of small and medium sized blocks, which are themselves each compiled of a number of similar but not exactly the same blocks.  This adds multiple levels of interest to the piece.


There are an unlimited number of art quilts made up of square or rectangular repeated modules.  If the modules are similar enough and there are enough of them, texture is created.If I were to try to define it, I would say that the definition of texture in art is: repetition of a similar shape, color, or pattern applied consistently over an area.  In Nancy Crow's Sets and Variables class this year we learned this lesson  by experience. These don't look very texture-y up close but seen from a distance they definitely blend into a fairly homogeneous blur.  But I don't particularly think they are works of art in their own right.  


Here's a really cool example by Melody Johnson where figures are just barely discernible within the texture.
Four Square Circles
I started to look for examples in other media where the dominant design element is overall texture or pattern.  There are lots of them! Jackson Pollock, of course.
Jackson Pollack: Lavender Mist, No. 1 1950
Mark Rothko makes you look very hard to discern pattern within the texture.
Red on Maroon, 1959
There are all sorts of examples from Ellsworth Kelly.  This one reads as texture, I think:

But when the number of squares becomes smaller, it doesn't. 


This one is texture-ish, but also had great figure/ground.

Meschers, 1951


Sean Scully creates subtle shape and color patterns within his overall pattern.  This really looks like it could have or should have been a  quilt.  I would like to try that out....
Red Light, 1971
I like this piece by Klee, even though it isn't exactly homogeneous texture, it does have overall balance.  I particularly like it because it incorporates mark making that begins to represent symbols or language, another pet topic of mine.
Signs in Yellow, 1937
Wandering farther down that path, here is a piece by Elina Asins titled Scale (diptych).  Very oddly, when I found this on Pinterest, and only half was shown. I love the way it starts to look like an architectural plan.  It is interesting to try to identify the point where the brain stops trying to discern what the "thing" or shape or structure is, and just says, "Oh, that's just a bunch of random stuff."  By having it repeated positive/negative it reinforces that it is "something," because they are both the same, and you  (Or actually I) want to figure out if they are exactly the same.

Athos Bulcao was a Brazilian artist best known for his blue and white ceramic tile work in the new city of Brasilia.  Here's a shot that I really loved for it's asymmetry and pattern. most of his other work appears to be more decorative, repeated patterns.    I have not found an image that shows all of this installation yet, I would love to see it in context.  It seems like he created himself a vocabulary of half-circles, straight lines, Ts and L's and then just went crazy arranging them.
Sort of like a Nancy Crow assignment,  "Make 7,500 of each, and then I'll tell you what happens next."  :)

I think that's enough musing for awhile.    Perhaps I should take a class on abstraction, but I don't really want to follow someone else's exercises.  I guess I'd rather just study abstraction on my own.  I'm really interested in what others might have to say on the topic.  Please leave a comment!